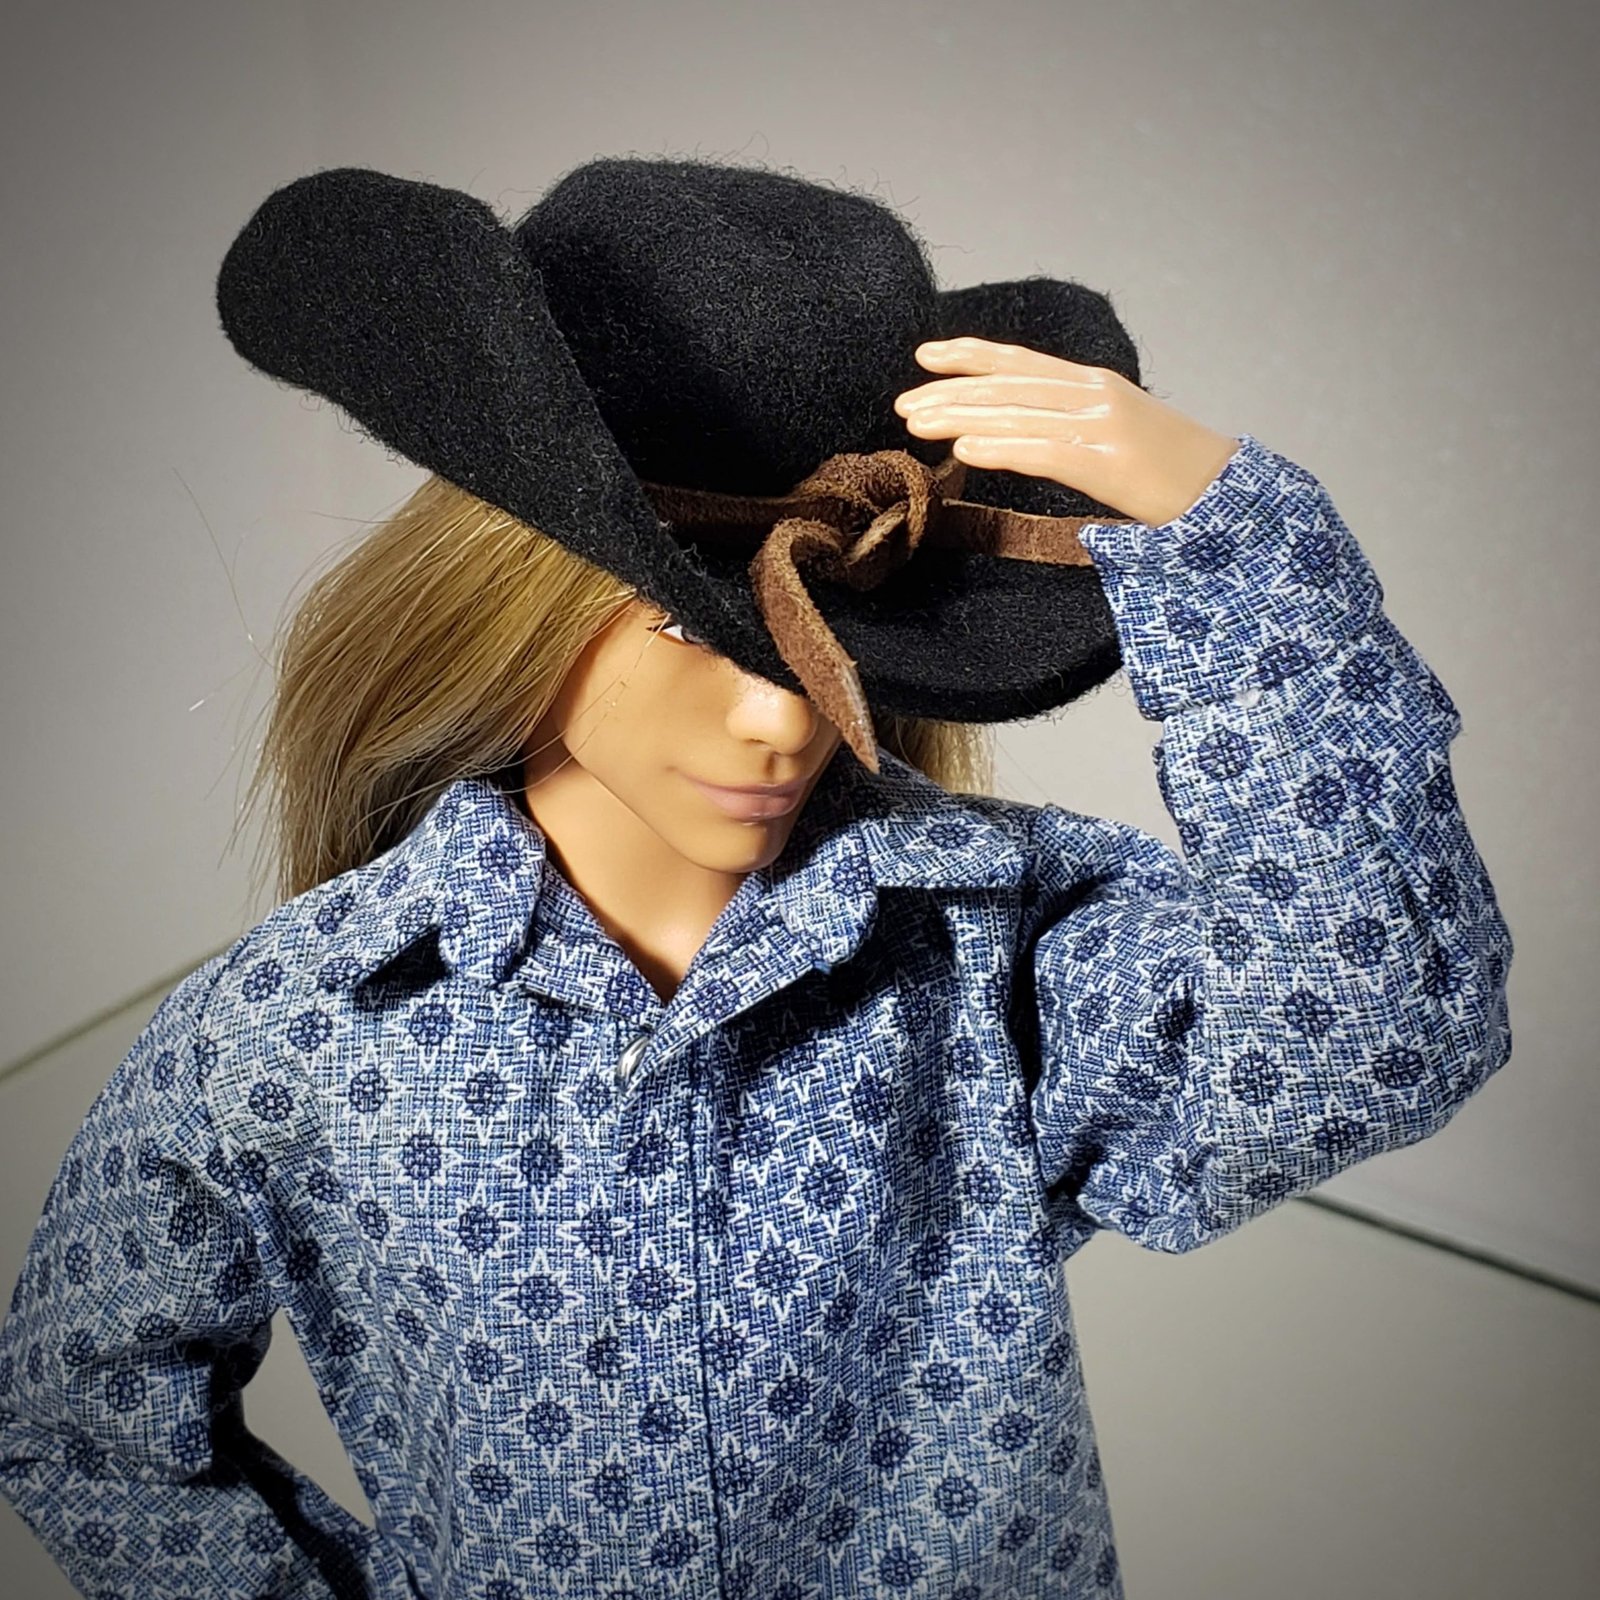

This time in the atelier, we are trying our hand at miniature hatmaking for a 1:6 scale doll. Instead of sewing the hat from individual pattern pieces, we used a different technique, shaping a single piece of natural wool felt.
At first glance, the set of tools for this project looked a bit unusual: felt, hot water, a glass jar, a rubber band, a bead, toothpicks, and a suede cord. Yet in such a micro-process, every single item serves a clear purpose.
From a Felt Disc to a Silhouette
It all starts with hot water: once soaked, the felt blank becomes pliable, allowing us to stretch and form the crown. A glass jar served as the perfect working mold, while a rubber band securely held the material at the base of the crown, separating it from the brim.
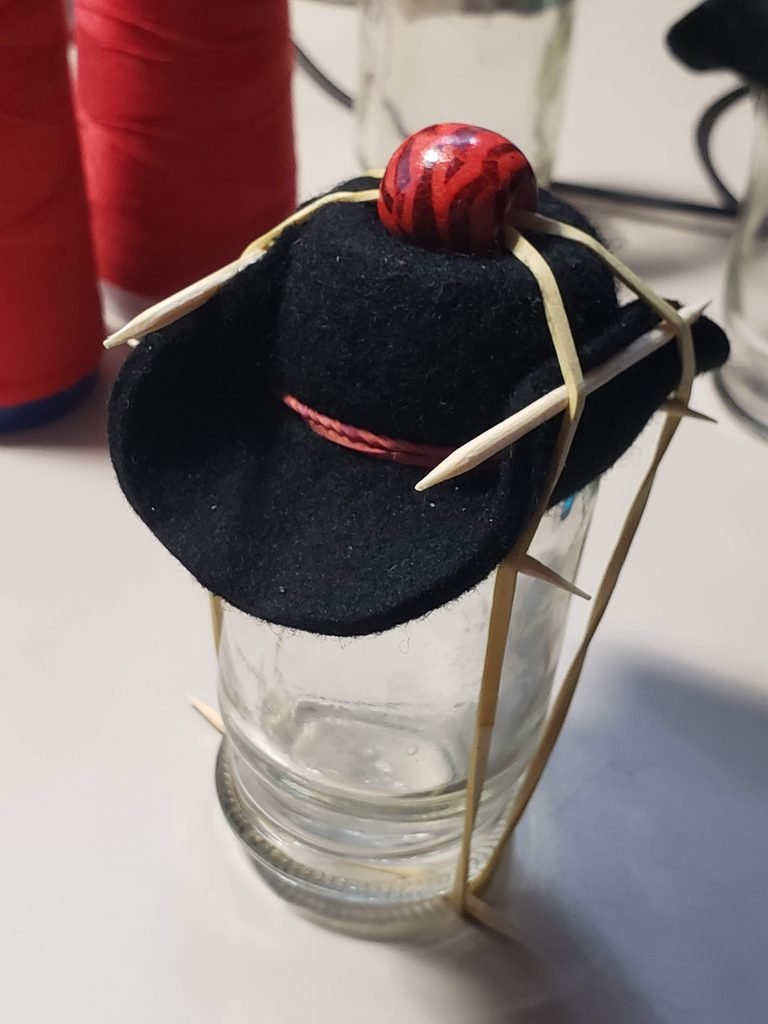
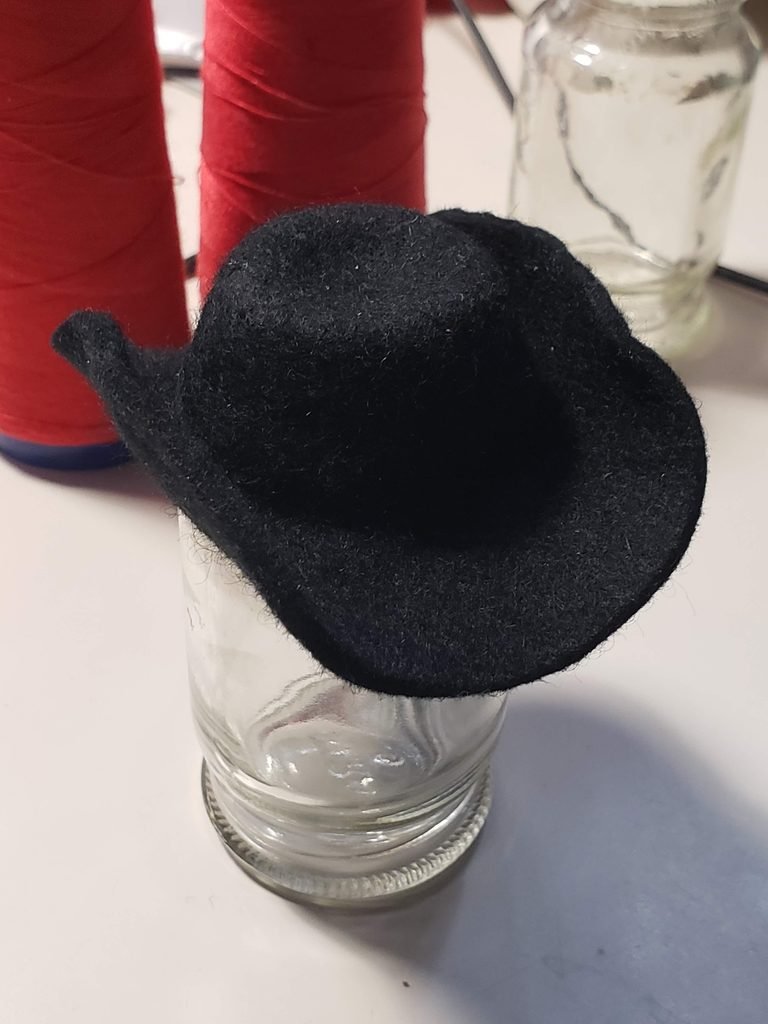
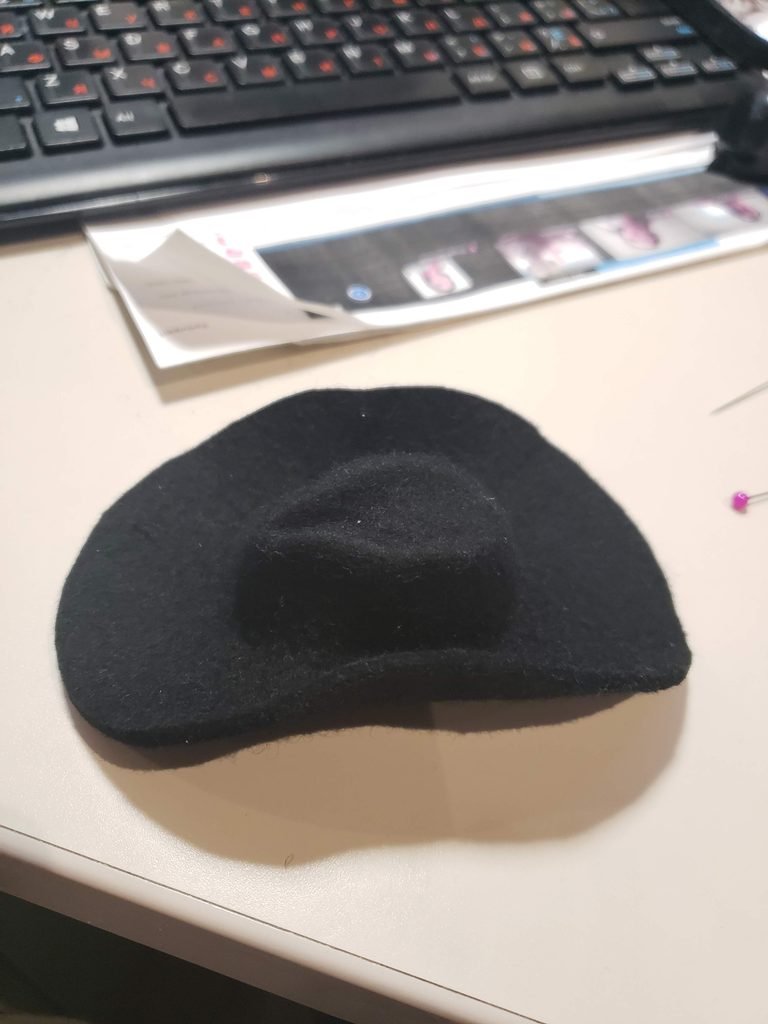
The next step is sculpting the character:
- Creasing the Crown: To give the top those iconic cowboy indents, our little helpers came into play.
- Setting the Details: A bead and toothpicks held the felt in place at key spots while the piece dried completely.
Gradually, the rounded felt blank transformed into a hat with distinct creases and curved brims.
Fitting and Finishing Touches
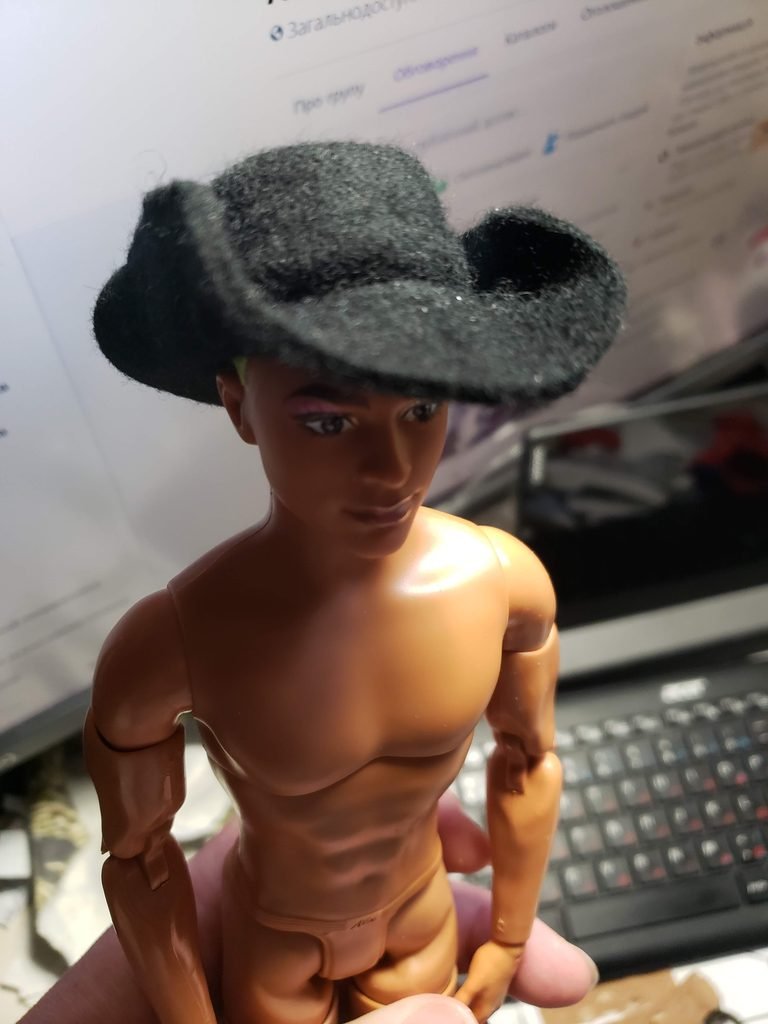
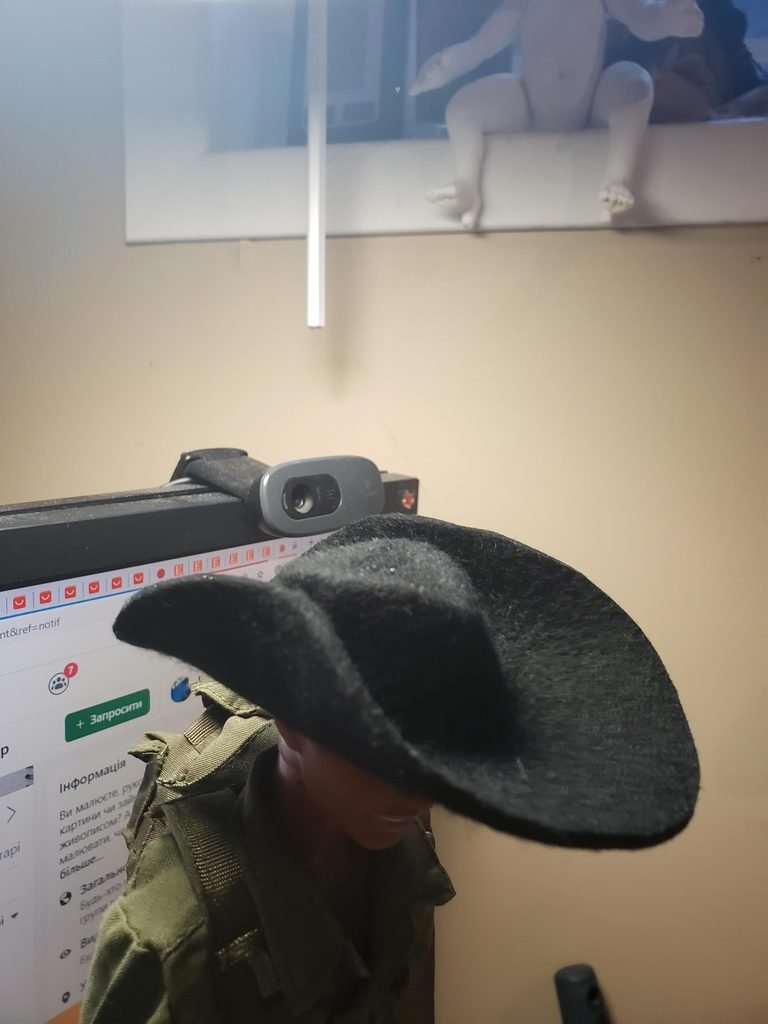
A crucial step before final decoration is trying the hat on the doll. On the workbench, a hat might look complete, but only on the doll’s head can you assess the true proportions: crown height, brim width, and its overall curve within the full outfit.
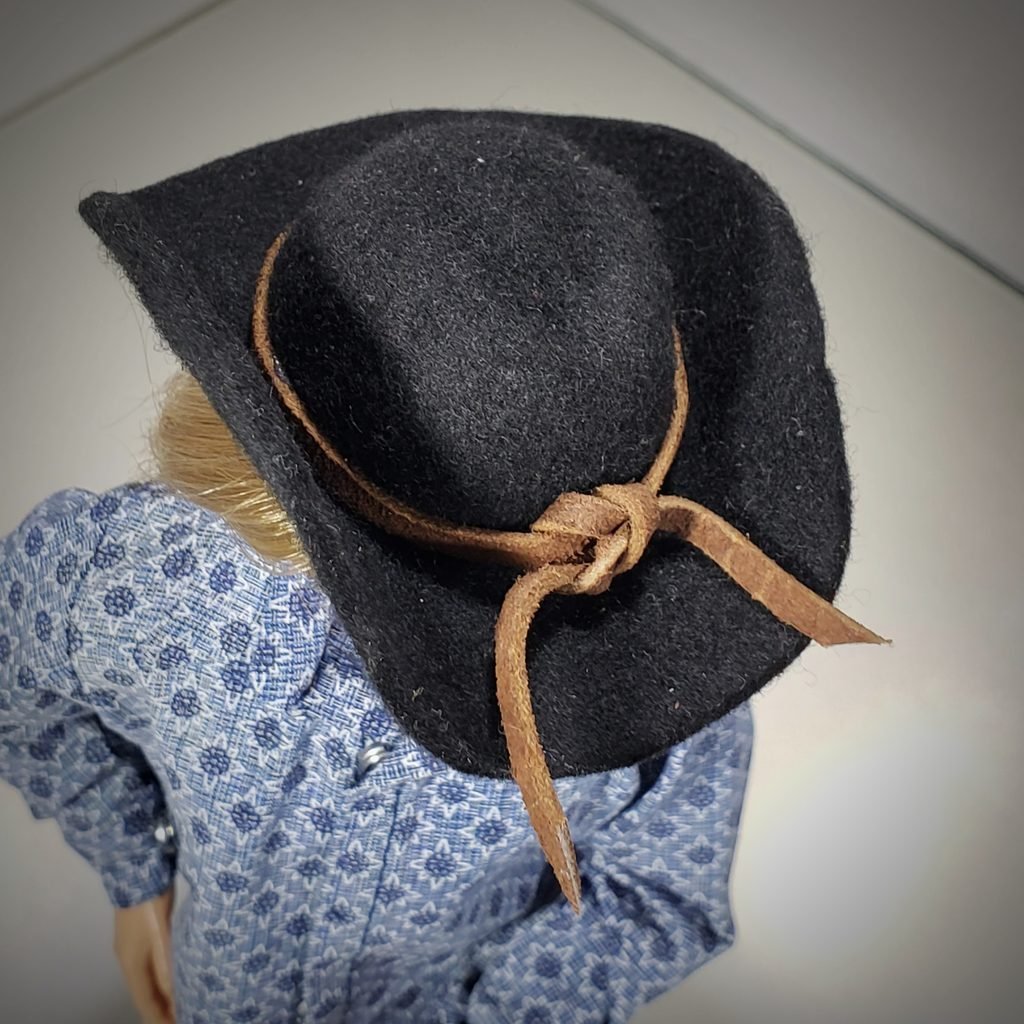
The final touch was a brown suede cord wrapped around the crown. Tied in a simple knot with free-hanging ends, it adds clean definition to the black felt without overcrowding the design.
The Result
The outcome is a classic black cowboy hat featuring wide curved brims, a sculpted crown, and a textured suede band. In the final photos, it completes the look of a doll wearing a subtle patterned blue shirt.
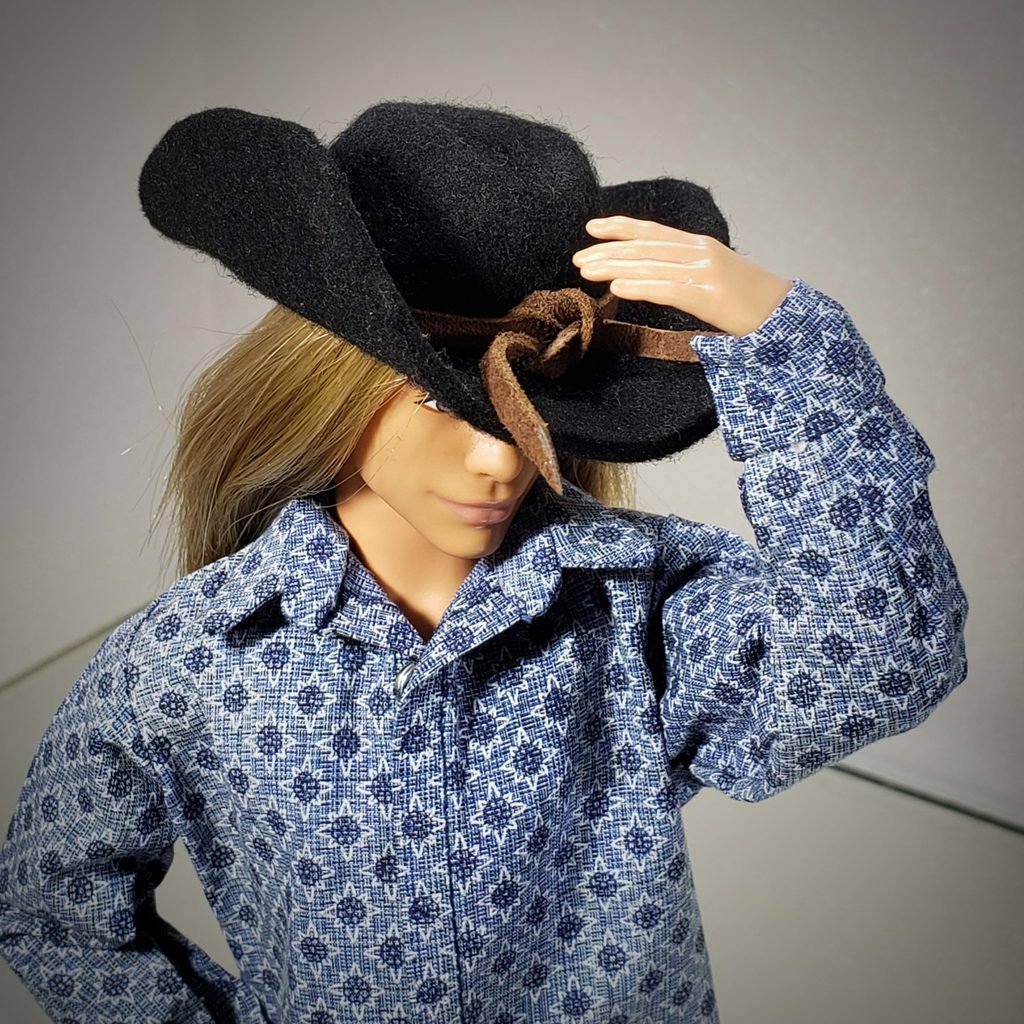
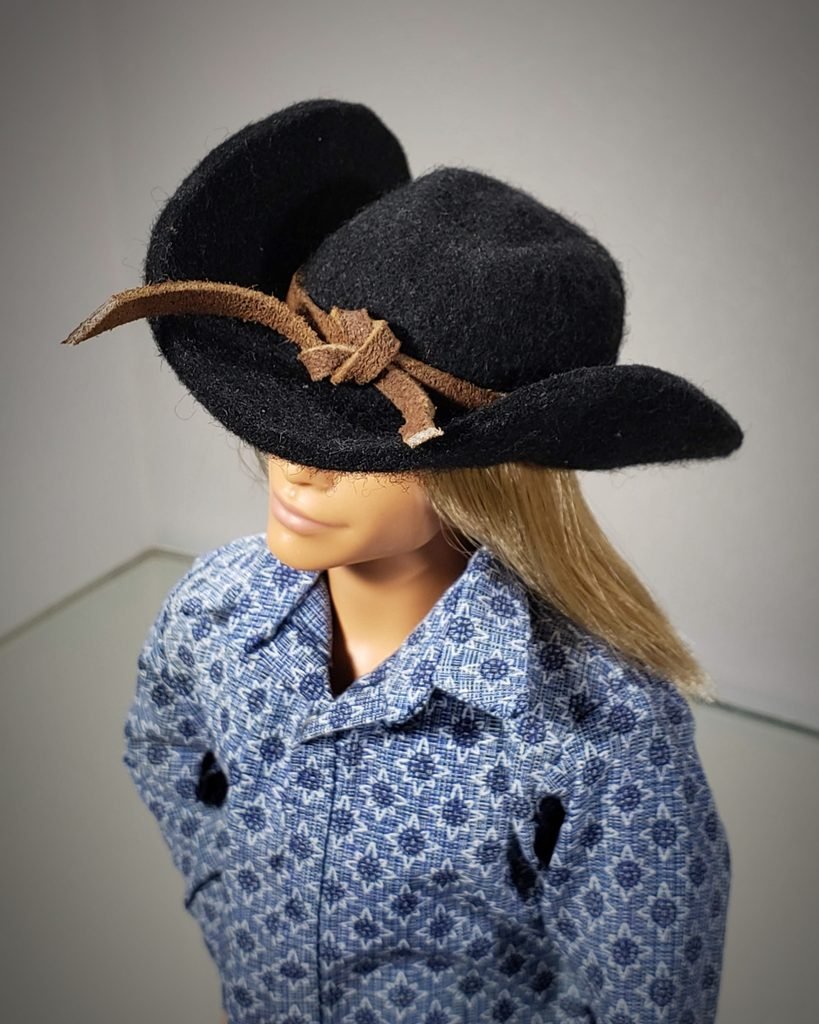
My favorite moment in projects like this is when the jar, rubber band, and toothpicks fade into the background, leaving behind their combined work, now sitting proudly on our little cowboy’s head.